Developer Tools
Studio
The Studio tools allow you to customise the information shown in the modules and how it is displayed.
See the dedicated Studio guide for more information on how to use the Studio tools.
Rename Modules
Use this panel to rename a SuiteCRM module. For example, you may wish to rename Accounts as Businesses.
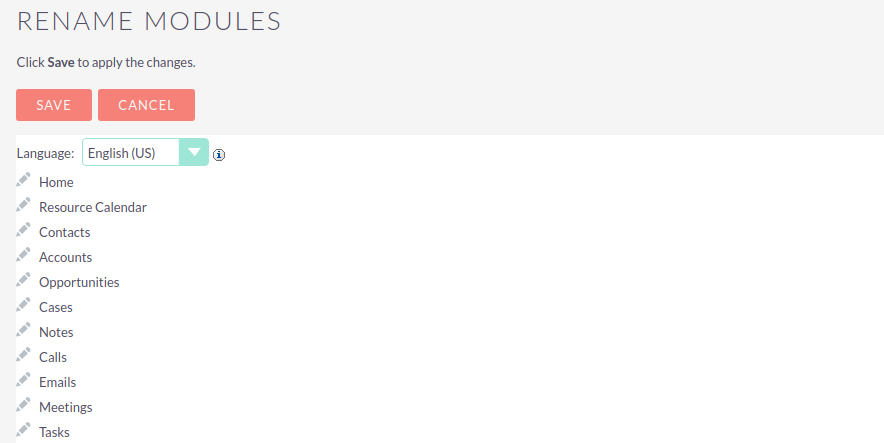
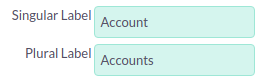
Click on the module you wish to rename. Enter the new singular and plural labels for the module and click SAVE.
The new module label will now appear on menus and headings throughout SuiteCRM.
Module Builder
This section is to be completed.
Display Modules and Subpanels
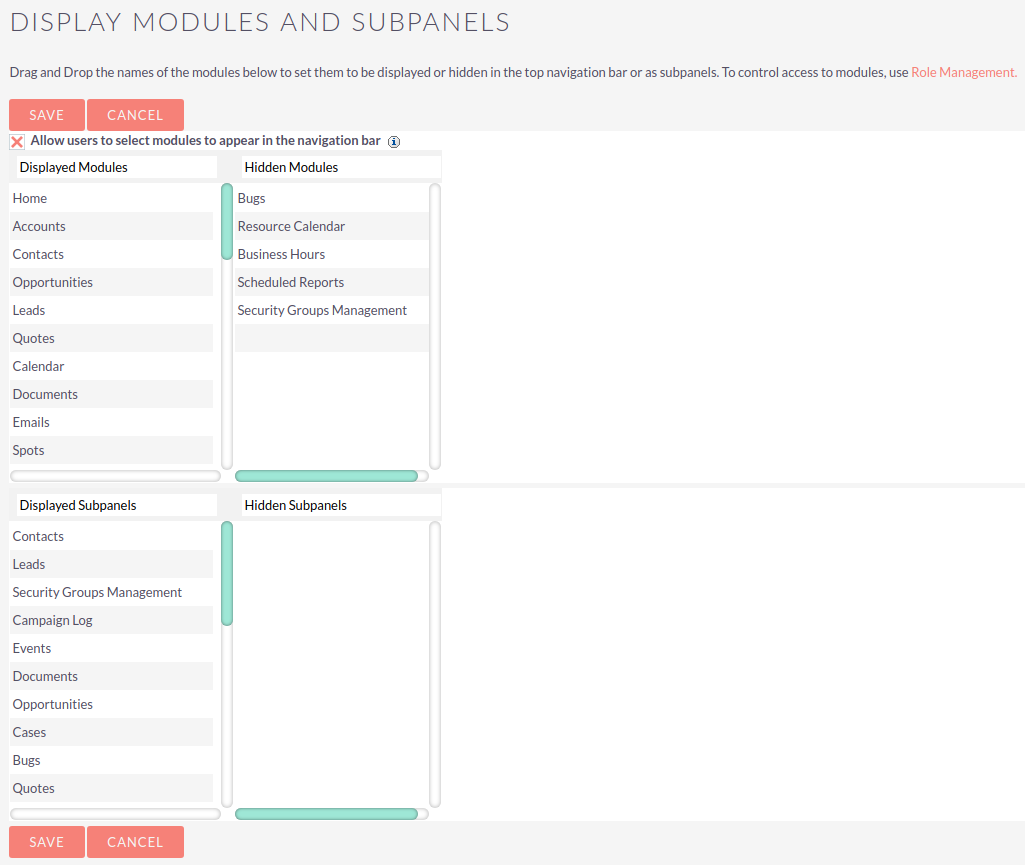
Control which modules and subpanels are visible in SuiteCRM by dragging and dropping modules or subpanels between the Displayed and Hidden columns.
This will show or hide modules in SuiteCRM for all users. Should you wish to control access to particular modules, this can be done using Role Management. See Roles and Security Groups for more information.
Allow users to select modules to apppear in the navigation bar |
Selecting this option allows users to customise which module tabs are visible from their User Settings. |
Module Loader
Module Loader allows you to install and manage custom modules or plugins for your SuiteCRM instance.
Custom module packages that have been created and modified in Module Builder will be displayed in Module Loader once they have been deployed.
For more information on producing packages that can be uploaded using Module Loader, see the Developer Guide
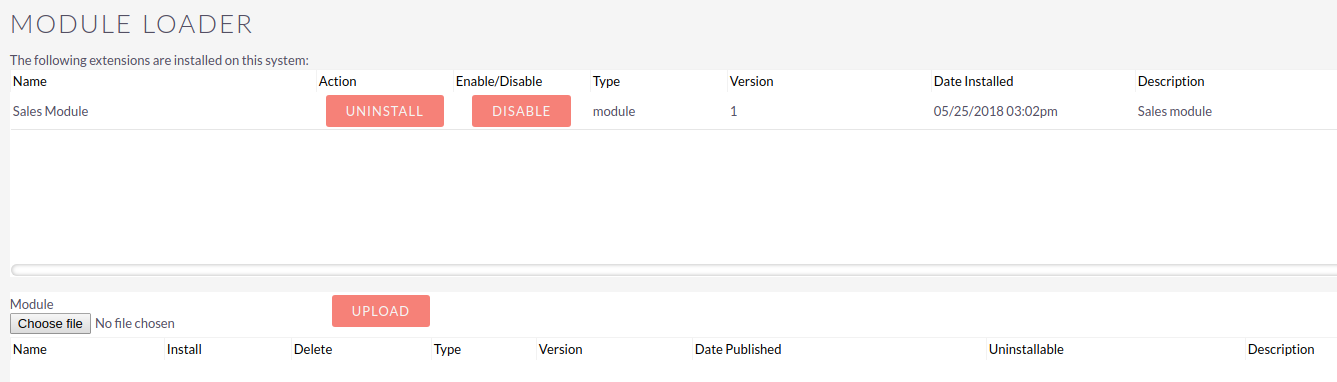
Modules and packages that are already installed are listed in the top pane. The lower panel is used to upload packages and will list any package that is uploaded but not yet installed.
Upload and Install a Package
Click Choose File and browse for the package .zip file. Click UPLOAD
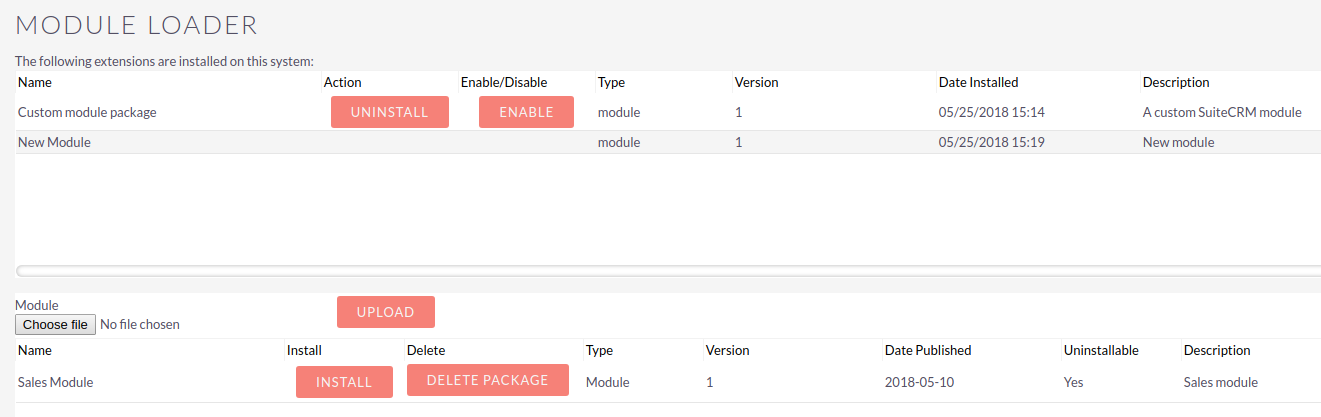
Once uploaded, the package details will appear in the lower pane, including the version number, a short description and whether or not the module can be uninstalled.
UNINSTALL and DELETE PACKAGE options will appear.
Click INSTALL to install the module.

On the next screen, if there are no problems detected with the package and it is ready to install you will be asked to click COMMIT to complete the installation.
If any errors occur during installation, they will be displayed here. Otherwise, clicking the Display Log link will detail the steps taken in the installation process.

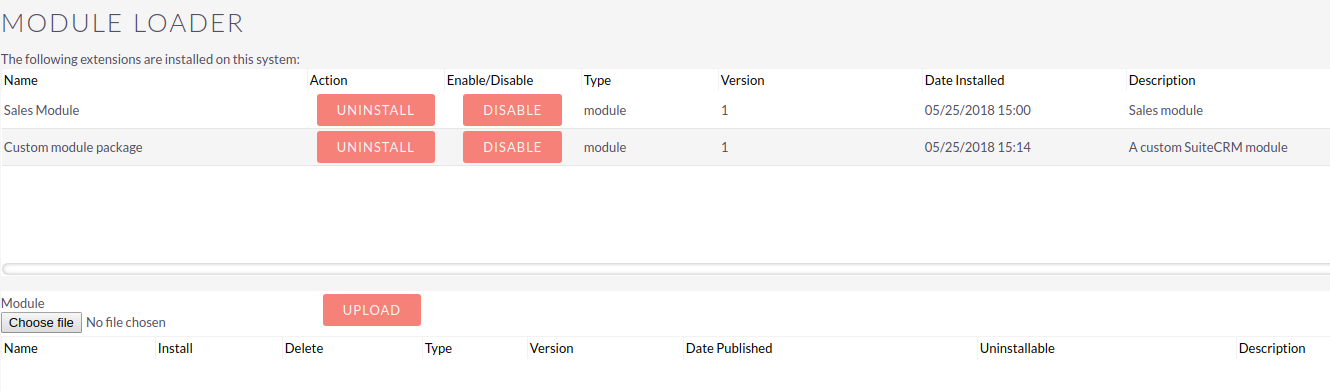
Click BACK TO MODULE LOADER to return to the Module Loader screen where the newly installed package will appear in the list of installed extensions.
Uninstall a Package
For a package to be uninstallable it needs to be defined as uninstallable in the package manifest file. For more information regarding the manifest file see the Developer Guide
Unistall a package by clicking the buttons next to the package name.
As with the install procedure, you will be asked to confirm the uninstall on the next screen. If the package added any tables to your database, you will be asked to if you wish to keep these, and any data within them, for example if you are replacing an older version of a module with a new one.
Click COMMIT to uninstall the package.
If any errors occur during the uninstall they will be displayed here. Otherwise, clicking the Display Log link will detail the process.
Click BACK TO MODULE LOADER to return to the Module Loader screen where the newly installed package will appear in the list of installed extensions.
An uninstalled module will be listed in the lower panel from where it can be re-installed or deleted.
Configure Module Menu Filters
Use this section to configure the module menus on the top navigation bar.
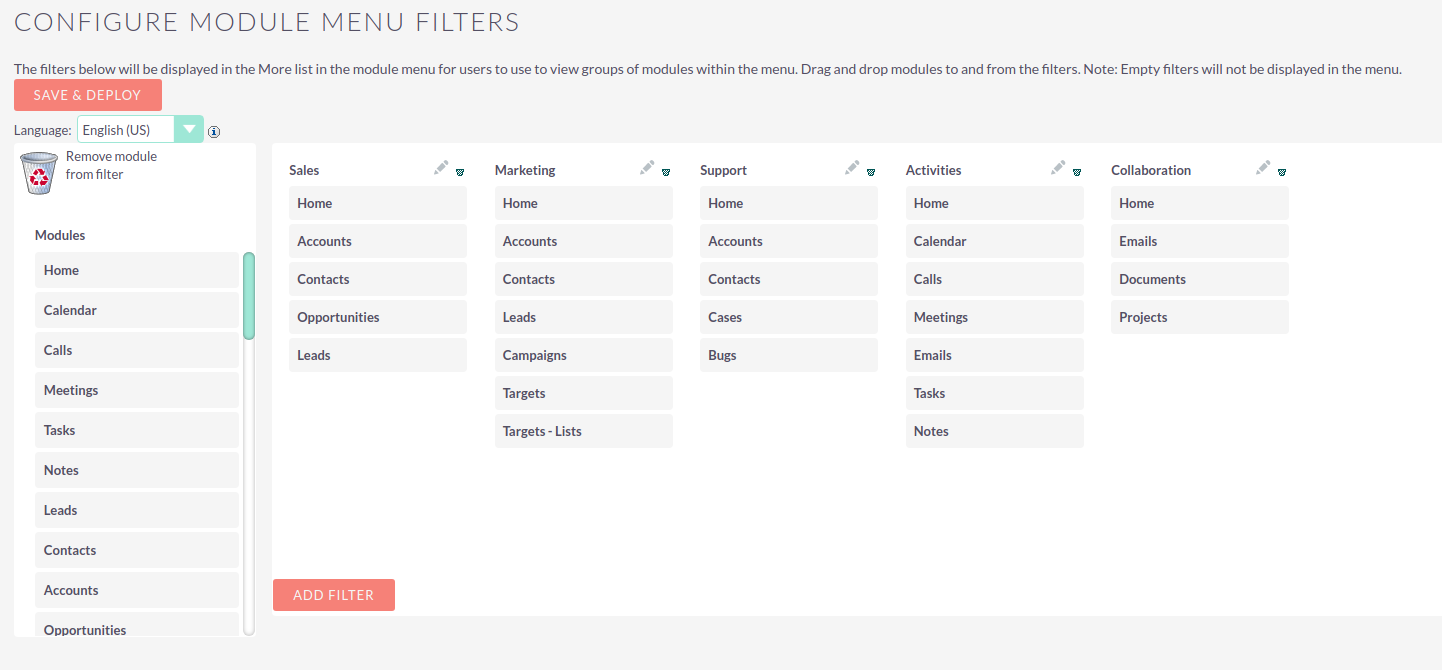
Drag modules from the list to the required menu, or delete an item by dragging it to the wastepaper bin icon. Edit the menu name by clicking the pencil icon next to the module name. Delete a menu entirely by clicking the wastepaper bin icon next to the module name.
A new custom menu can be added by clicking ADD FILTER Add menu items by dragging and dropping as before
Any changes made will not take effect until you click SAVE & DEPLOY
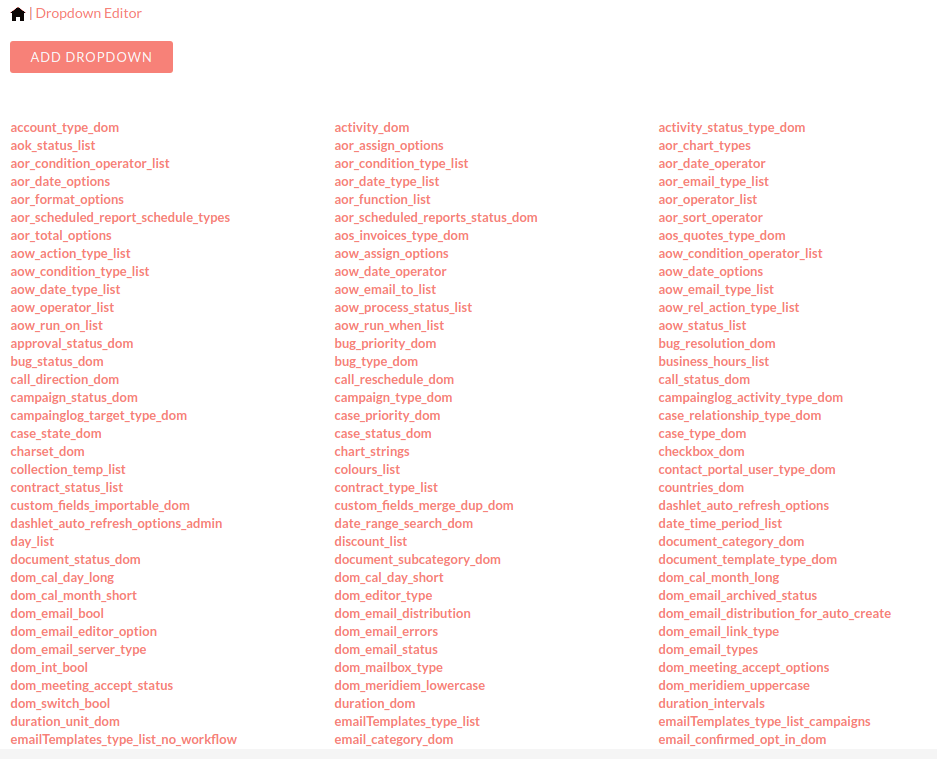
Dropdown Editor
The Dropdown Editor shows all the dropdown lists currently installed on the system.
Click on the dropdown name to edit it. If you are unsure which dropdown you require, it can be easier to edit via Studio where you can find the dropdown by its field name. See the Studio guide for full instructions on adding or editing a dropdown list.